Featured Post
Gallery Photos
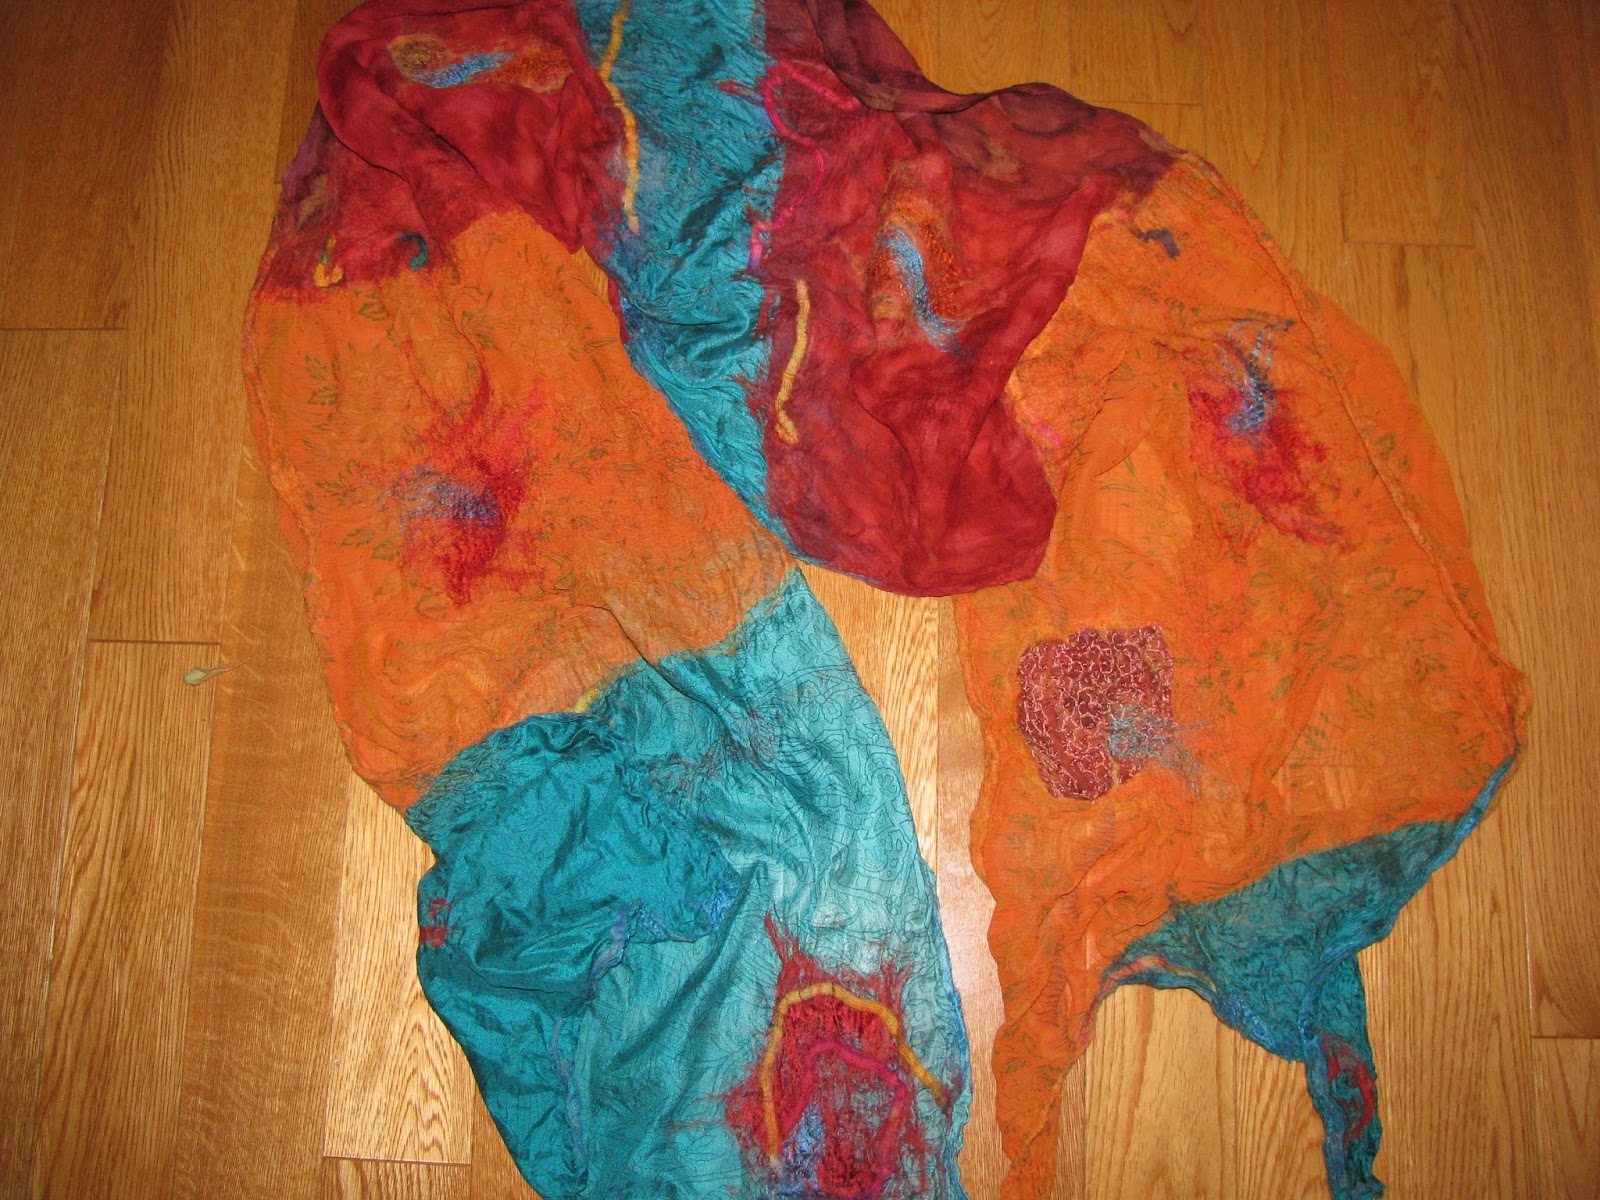
I wanted to place all my favourite art felt in one place.... so enjoy! Click on Gallery Photos title to see the whole lot! ...
Sunday, January 15, 2017
Workshops
Finally, My studio is ready for workshops! I had the first last week, and this table shows some of the future projects... purses, bags, slippers. The hats were up on the shelf above.
Here is the first double table ready for the students, with some of the silk chiffon choices.
Here is the second table. We had four students this day, but I ultimately can handle up to six for the scarves, and maybe eight for the slippers and bags (smaller table space required).
Ready for the water and rolling stages. (me peeking at you through the mirror!
One scarf in the wet and covered stage.
Finished scarf close up of one end
and the other end.
If you are close enough to the Niagara area, and are interested in workshops, please email me at chrisknits at Hotmail dot com. (link above right) and get your name on my workshop newsletter email list. I love to spread the love of all things felting!
Friday, January 6, 2017
Felted Slippers. Tutorial (of sorts)
The slipper experiment continues, and I got the feeling that the flat resist makes just an OK slipper. My friends likes the one that I added the knit cuff to, but I thought I could make a better slipper. Many of the PINTEREST photos showed finishing (or even starting) over a foot mold, either duct tape match of your own foot, or a plastic (and expensive) shoe mold. The duct tape worries me, as it could only be used in the end to stretch the final product, and as far as that goes, I used my own real foot, covered in a plastic bag, to final stretch the previous ones. No, I wanted more form.
I decided to try using Crocs, or equivalent off-brand as the mold/resist. The previous blog entry shows a baby size slipper as the test try, and I was impressed. So here goes the adult version:
First I bought one size bigger Croc, in a clearance priced colour! One size bigger, and wrapping on the outside of those, allows for enough shrinkage to create a really firm slipper. The process does not actually damage the shoes in any way, so you could borrow the ones you want to use!
Other materials include, wool batting (you could use only roving, but batting saves some steps and makes it really uniformed.), roving, and any embellishments you like. Also plastic and a panty hose leg.
I start with the batting, and a bit of roving. I show the roving in grey, so that we can see where it goes. Extra roving over the toe to make sure it is not too thin there. The baby sample seemed to shift away from the toe, so I think adding extra will counter this migration.
Wrap the batting evenly around the shoe, covering it completely. I actually ripped the batting in almost half, wrapping first one way, then the other, to make it evenly covered.
If you are using only roving, make a flat bed of two thin layers of roving crossed in perpendicular directions, to create a strong felt. Then wrap it around the shoes, followed by another bed of 2 thin layers. (four thin layers total). HINT: whichever way you do this, make sure you lay the batting or the roving out for BOTH shoes at the same time, trying to use the exact same amount of fibre on each shoe!
Once wrapped, add pencil roving of contrast merino to "tie" it together. Make sure left and right have mirror details. I then added some silk and yarn, mostly to the top of the toe area.
Wet the whole thing really well with cold soapy water. Gently massage without dislodging too much fibre and squeeze excess water out. Once it feels completely we thoughout, roll them both into plastic (you could use zip lock bags, just get out most of the air) and try to seal the ends to mostly keep the water in the package. Slide the plastic wrapped slippers into the leg of a panty hose, tie some acrylic yarn in the space between the shoes, and tie off the end, to make a two link sausage of slippers!
Then the magic!
Wrap the package in a large towel (again rolling sausage style) and tie with stretchy fabric ties. toss this in the dryer on NO HEAT and tumble for about 20 minutes.
When you unwrap them, you should have firm, but not too puckered, slippers. The photo below shows what it looked like in the lower slipper. Carefully cut a two inch hole in the center of the open space of the shoe. Do not cut too near the heal, as the felt will stretch open even further, and you want some felt on the back of your foot. Stretch the opening out as in the upper picture. Best to under cut, and if the stretch does not get large enough, you can cut more.
Now make a really hot bath of soapy water, and using the bubble wrap, dip in water, massage, squeeze out excess, then rub on the bubble wrap. I rubbed every surface, even flipping them inside out to rub the insides. Do this over and over until you get the size you need for your foot. Should only take about 5 minutes. Hand rub the opening of the slipper to really firm it up. You can see in the final dry photos how the opening got bigger, but not too big to stay on the foot.
The shoes continued to mold to my foot after wearing a few days. Try to know left from right (mine, the rose silk is on the outside of my feet). I plan to sew some suede to the bottom to have them last much longer.
I decided to try using Crocs, or equivalent off-brand as the mold/resist. The previous blog entry shows a baby size slipper as the test try, and I was impressed. So here goes the adult version:
First I bought one size bigger Croc, in a clearance priced colour! One size bigger, and wrapping on the outside of those, allows for enough shrinkage to create a really firm slipper. The process does not actually damage the shoes in any way, so you could borrow the ones you want to use!
Other materials include, wool batting (you could use only roving, but batting saves some steps and makes it really uniformed.), roving, and any embellishments you like. Also plastic and a panty hose leg.
I start with the batting, and a bit of roving. I show the roving in grey, so that we can see where it goes. Extra roving over the toe to make sure it is not too thin there. The baby sample seemed to shift away from the toe, so I think adding extra will counter this migration.
Wrap the batting evenly around the shoe, covering it completely. I actually ripped the batting in almost half, wrapping first one way, then the other, to make it evenly covered.
If you are using only roving, make a flat bed of two thin layers of roving crossed in perpendicular directions, to create a strong felt. Then wrap it around the shoes, followed by another bed of 2 thin layers. (four thin layers total). HINT: whichever way you do this, make sure you lay the batting or the roving out for BOTH shoes at the same time, trying to use the exact same amount of fibre on each shoe!
Once wrapped, add pencil roving of contrast merino to "tie" it together. Make sure left and right have mirror details. I then added some silk and yarn, mostly to the top of the toe area.
Wet the whole thing really well with cold soapy water. Gently massage without dislodging too much fibre and squeeze excess water out. Once it feels completely we thoughout, roll them both into plastic (you could use zip lock bags, just get out most of the air) and try to seal the ends to mostly keep the water in the package. Slide the plastic wrapped slippers into the leg of a panty hose, tie some acrylic yarn in the space between the shoes, and tie off the end, to make a two link sausage of slippers!
Then the magic!
Wrap the package in a large towel (again rolling sausage style) and tie with stretchy fabric ties. toss this in the dryer on NO HEAT and tumble for about 20 minutes.
When you unwrap them, you should have firm, but not too puckered, slippers. The photo below shows what it looked like in the lower slipper. Carefully cut a two inch hole in the center of the open space of the shoe. Do not cut too near the heal, as the felt will stretch open even further, and you want some felt on the back of your foot. Stretch the opening out as in the upper picture. Best to under cut, and if the stretch does not get large enough, you can cut more.
Now make a really hot bath of soapy water, and using the bubble wrap, dip in water, massage, squeeze out excess, then rub on the bubble wrap. I rubbed every surface, even flipping them inside out to rub the insides. Do this over and over until you get the size you need for your foot. Should only take about 5 minutes. Hand rub the opening of the slipper to really firm it up. You can see in the final dry photos how the opening got bigger, but not too big to stay on the foot.
The shoes continued to mold to my foot after wearing a few days. Try to know left from right (mine, the rose silk is on the outside of my feet). I plan to sew some suede to the bottom to have them last much longer.
Tuesday, January 3, 2017
hats and slippers
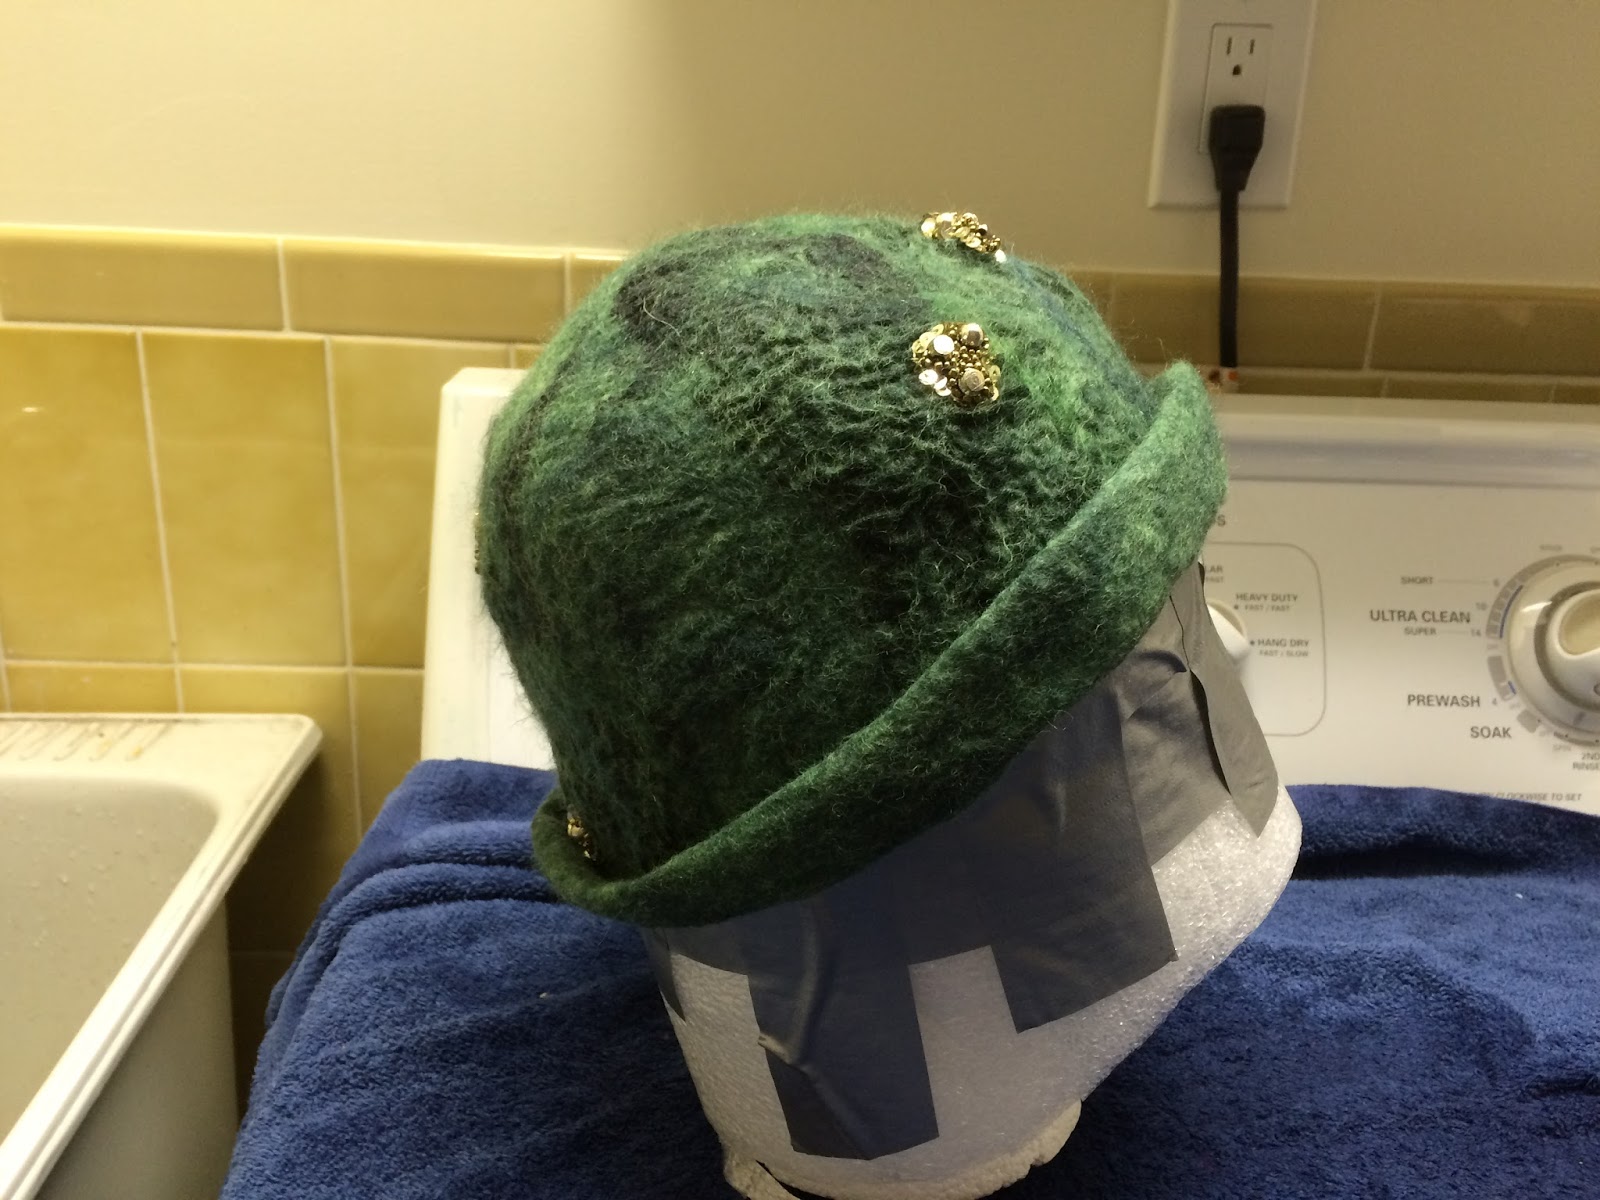
I need to work out a couple of new projects as samples for future workshops.... I was thinking of hats and slippers. I have made lots of hats, and have that routine down. Here is a green one that I made up yesterday. Roving with silk beaded fabric and yarn over a bell shaped resist.
after working it until sturdy, I used hot and cold water until it stretched nicely over my hat form. (I covered a wig head with foam and duct tape to make the right size for me.)
It is drying here. I will add some more embellishment to finish.
Here is a first attempt at slippers. I used a flat resist, and worked it to fit my feet, but I felt the slipper is too flat, and decided to add a knitted cuff to bring it up the ankle for a better fit.
Not bad.
And here is another technique. I thought it may work well to felt over some "crocs". I found some tiny ones (toddler size 4) at the used clothing shop. They are tough to find in the winter! I worked four layers of roving over the shoes, then tossed them until fairly firm. Hot soapy water made them perfect. They shrunk to about the size of the original shoes. Next I will try adult size and see if it works as well.
February and March workshops will feature shoes and hats!
after working it until sturdy, I used hot and cold water until it stretched nicely over my hat form. (I covered a wig head with foam and duct tape to make the right size for me.)
It is drying here. I will add some more embellishment to finish.
Here is a first attempt at slippers. I used a flat resist, and worked it to fit my feet, but I felt the slipper is too flat, and decided to add a knitted cuff to bring it up the ankle for a better fit.
Not bad.
And here is another technique. I thought it may work well to felt over some "crocs". I found some tiny ones (toddler size 4) at the used clothing shop. They are tough to find in the winter! I worked four layers of roving over the shoes, then tossed them until fairly firm. Hot soapy water made them perfect. They shrunk to about the size of the original shoes. Next I will try adult size and see if it works as well.
February and March workshops will feature shoes and hats!
Monday, December 12, 2016
Ramp up production
I was at the shop in Jordan Village, and they were almost sold out of my scarves, so the last two days I have been felting non stop, and have whipped up another 12 scarves!
So no time to photo or post much, but here is a shot of one of my coats, hanging on the cool mirror at Pamela's in Jordan Village. Stop by if you visit the Niagara Area of Ontario. What a lovely friendly little village.
Thursday, December 1, 2016
photos: Nuno felt fashion
Here are a few photos of my wearable art as they entertain at a fashion show!
The first is a nuno felt long vest. Red silk base with lots of black merino and details.
The second is a winter coat, burgundy and black, with pockets and huge lapel.
The third was the finale of the show (a weavers and spinners and fibre show). It is my butterfly coat. A young man chose to wear this and "flew" around the room. It was hard to capture a photo, but I added my own modelling photo at the end.
It is very big and makes quite an impact!
The first is a nuno felt long vest. Red silk base with lots of black merino and details.
The second is a winter coat, burgundy and black, with pockets and huge lapel.
The third was the finale of the show (a weavers and spinners and fibre show). It is my butterfly coat. A young man chose to wear this and "flew" around the room. It was hard to capture a photo, but I added my own modelling photo at the end.
It is very big and makes quite an impact!
Tuesday, November 29, 2016
workshops
For those who are close to the Niagara Region, I am hosting a few workshops in 2017.
The January ones will be Sunday Jan 8, and Sunday Jan 29. Both from 1 - 4:30pm.
Any interested in attending workshops can contact me through my email at the right (contact info).
Here's some random photos of previous workshops....
The January ones will be Sunday Jan 8, and Sunday Jan 29. Both from 1 - 4:30pm.
Any interested in attending workshops can contact me through my email at the right (contact info).
Here's some random photos of previous workshops....
Sunday, November 27, 2016
photos for inspiration
Scarves, felted monster, dryer balls.... Does that not make you want to put your hands in soapy water?
Subscribe to:
Posts (Atom)